With beaded lace patterns I'm often asked, "How do you get the beads on there?" or "How do you do beaded crochet?" or "How do you bring up a bead (abbreviated in crochet patterns as 'BUB') to crochet it?". Here's an illustrated tutorial on how you do it (Note: Beaded lace is tiny - Click on any photo to ENLARGE IT):
1)Pre-string all beads needed for the pattern on your yarn/crochet thread. I use a big eye collapsible needle (available in beading stores) to string my beads. Not all beads in a batch may fit over the needle and onto the yarn - discard those that don't slide easily on.
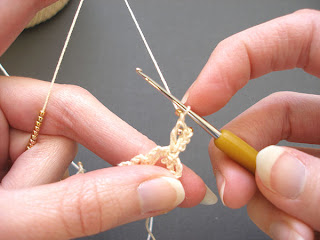
2)Let's start with adding a bead to a chain stitch. Hold the majority of the beads behind your left hand away from your working area. Slide up a bead to work with.
3)Push the bead up snug to the prior stitch. You have now brought up the bead and it is in place to work the stitch called for in the pattern, which in this example is a chain stitch.
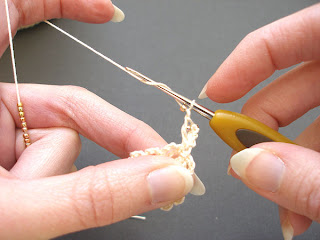
4)With your hook, reach over the bead to grab the yarn and KEEPING THE BEAD UP SNUG TO THE PRIOR STITCH .....
5)...complete your chain stitch. You will notice that the bead will always appear on the BACK side of your work, not the front.
6)Let's continue by learning to add a bead to a double crochet stitch. Again, keeping the rest of the beads off to the left out of the working area, bring up a bead and push the bead up snug to the prior stitch.
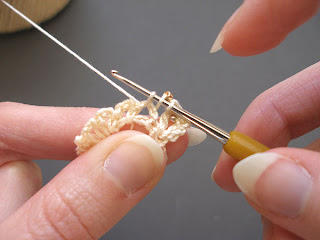
7)With your hook, reach over the bead to grab the yarn and KEEPING THE BEAD UP SNUG TO THE PRIOR STITCH .....
8)... insert your hook from front to back and .....
9)... draw up a loop. Look at the photo closely. You want the bead to be on the back side of the crochet hook. (Note: clicking on the photo will enlarge it)
10) This is an example of what you do NOT want. Look at the photo closely. The bead is in front of the crochet hook. You want it to be at the back, or on the top leaning back, but NOT in front.
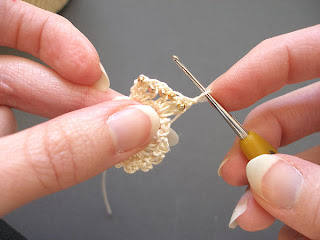
11) With the bead at the back, complete the double crochet stitch as normal. You will notice that the bead is again appearing on the BACK side of your work, not the front. Once you've made a few more double crochet stitches ....
11)... flip your work over to see all the beads perfectly incorporated into your project.
Sunday, March 06, 2011
Subscribe to:
Post Comments (Atom)


4 comments:
So pretty! Thanks for the tutorial!
Thats a good tutorial. I am going to have to give that a try. I have always wondered how it worked to do that also.
Thank you.
Hope you've had a good start to the week.
Come by and visit sometime..
Judi
Thanks so very much for the positive feedback on my tutorials! They are a bit of work to put together, but knowing people are looking at them and that they are helpful makes it all worth it!
Is there ever an opportunity to have the beads in the front of your work and if so what would be the application?
Post a Comment